Written by: Olivia Forgette
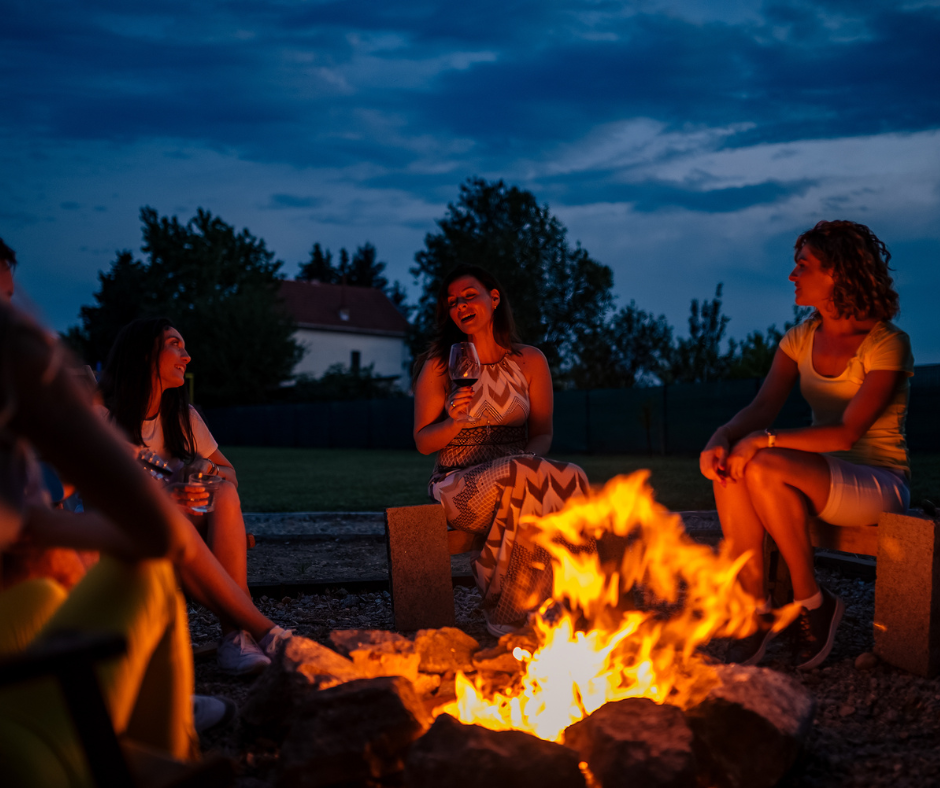
Whether camping or “glamping” is more your style, I think everyone can agree that the fall vibes aren’t quite complete until you have a warm, outdoor focal point. We all want to enjoy an outdoor space that invites you to linger a little bit longer. You can easily create your own autumn backyard oasis by using our step-by-step guide to a do-it-yourself (DIY) fire pit for fall.
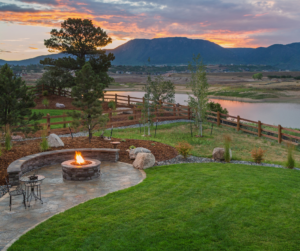
Thinking about sprucing up your outdoor space to list your home? Experts say smart landscaping upgrades to your property have a 200-to-400-percent return on investment (ROI). Meaning, if you spend the coin to upgrade your outdoor space (by building a fire pit for example) before selling, you will potentially make double your money back on the project!
Prepare
Before you dive into the DIY fire pit for fall project, it’s best to get prepared. First things first, before starting it’s always a good idea to consult your local fire code to ensure a fire pit is approved in your area.
You also will need some supplies before you are toasting marshmallows and making memories around your bon fire pit. The supplies you will need include:
- Bricks/stones to construct your pit (select retaining wall bricks, concrete stones, or other unique yet durable stone for a more creative look, plus firebricks for the inside layer if not using a fire ring)
- Fire ring (if choosing not to use firebricks)
- Masonry adhesive
- Large shovel
- Hand shovel
- Tamper
- Level
- Gravel
- Twine
- Tape measure or measuring stick
Also, in preparation for your DIY fire pit for fall is selecting the right spot in your backyard. You want to make sure it is a safe place. This means far enough away from buildings, power lines, bushes, trees, or other flammable outdoor items. Some of our best tips for picking your fire pit location include:
- Never place your fire pit under awnings or trees
- Avoid placing the pit on a flammable surface
- Find an open area (ideally 25 feet or more away from structures)
- Choose a level, sturdy surface
Another consideration when selecting your fire pit location is to think about actually using the fire pit.
This may seem silly, but it’s important to imagine hosting some friends and family, carrying s’mores supplies to the pit, refilling drinks, having a bathroom break. You want the pit far enough away from your house that it’s safe, but also close enough that it’s not inconvenient.
Step 1
Now that you’re prepared to start your DIY fire pit for fall, it’s time to get started! Step one is mapping out your fire pit. If you’re using a fire ring, this makes it a little easier. Just simply place your ring where you want the pit to sit, place a few bricks around it, and mark the width before digging a guide with your hand shovel.
If you are not using a fire ring to construct your pit, you will want to place a stake in the ground where you want the center of your fire pit to be. Measure four-to-five feet of your twine and tie it to the stake, and then to your hand shovel. Next, simply go around in the circle using your measuring guide to map out the shape of your fire pit. You want your interior ring to be about 36-to-44 inches in diameter.
Step 2
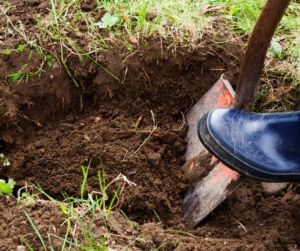
Next on your DIY fire pit for fall project is to shovel out the grass. Using the size guide you created, it’s time to start shoveling away any grass within your fire pit area. You will want your fire pit to be six-to12-inches deep for safety. Remember to be sure to note if you have any buried power or utility lines in the area before you start digging!
Step 3
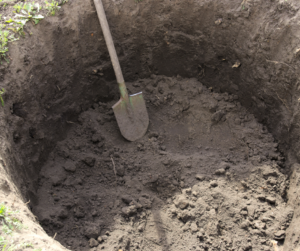
Once you’ve removed any grass and debris from your fire pit, it’s now time to tamp and level the space. Be sure to tamp all the dirt down so it is compact and smooth. Use a level once finished to ensure you don’t have any uneven spots.
Step 4
Ah, now you have the perfect surface to build your fire pit for fall! The next step in your DIY fire pit build is to fill the pit with gravel. You’ll want a thick layer of gravel (at least a few inches thick). The gravel is important because it allows for water drainage in your pit. Once the gravel is in place, spread it even and you’re ready for step five (the last step, yay!)
Step 5
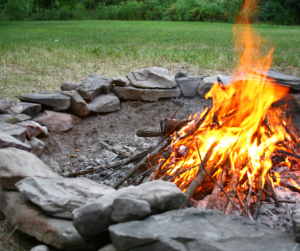
You’re now ready to construct the walls of your fire pit. If you’re using a fire ring, place your ring first. If not using a fire ring, you will want to use your fire bricks first to create the interior circle. Remember, you should be aiming for the interior circle to be about 36-to-44 inches in diameter.
Line your first ring of stones up with the edge of your gravel circle. Ensure they are level and line up nicely! This is your foundation, so it’s important they are lined up properly (tip: using a rubber mallet can sometimes help make sure the bricks are level).
Next, use a zig-zag pattern when applying your masonry adhesive and layer on the next set of bricks in an offset manner so the middle of the brick on the second row lines up with the seams of the bricks in the first row. Continue this until your fire pit walls reach at least 12-inches high.
If you’re using imperfectly perfect stones, it’s important to configure them so they are still strong, sturdy, and able to be glued to one another with the masonry adhesive.
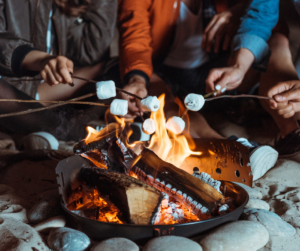
Sizzling style
Now that your DIY fire pit for fall is built, the last thing to do is to style the pit for use! Some of our best styling tips include:
- Place comfortable outdoor sofas or chairs around your new fire pit
- Try adding some outdoor throw pillows or cushions for added cozy vibes
- Add some ambiance with delicate string lights or solar lights
- Incorporate some side tables to your fireside design so guests have spot to build s’mores or place drinks

The options for styling your fire pit are endless! Have fun with the design to make your outdoor living space an extension of your home.